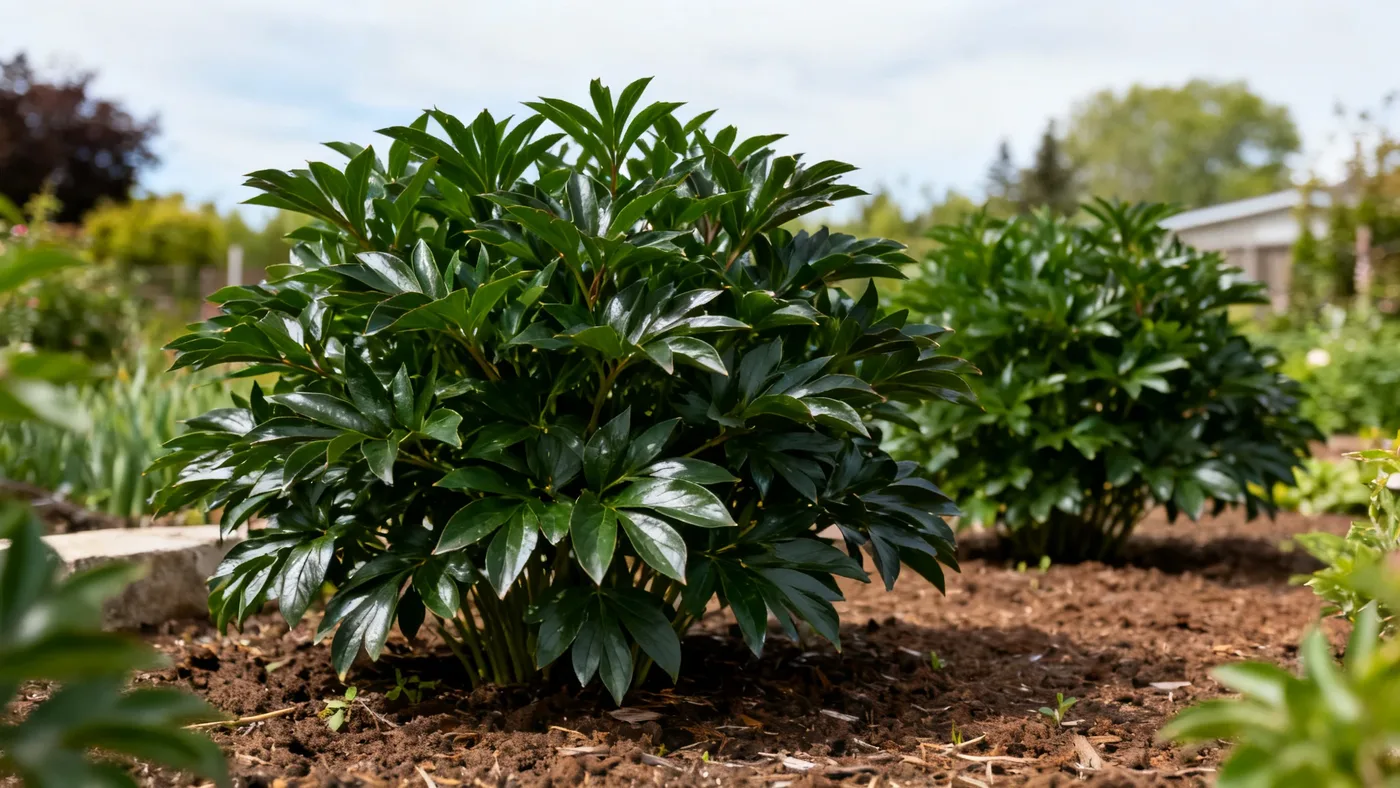
How to Propagate Karl Rosenfield Peony by Division
Karl Rosenfield Peony is one of the easiest perennials to propagate at home through root division. A single mature plant produces enough new crowns in 3 to 4 growing seasons to split into multiple rooted sections, each capable of blooming again within 2 to 3 years. Unlike growing peonies from seed (which loses cultivar traits), division gives you exact genetic copies of the parent plant. This guide walks you through the timing, tools, and technique to divide your Karl Rosenfield Peonies successfully.
Why Divide Karl Rosenfield Peonies?
Dividing Karl Rosenfield Peony serves several purposes. Over time, an established clump grows outward and dense, which can reduce flowering and air circulation. Division rejuvenates tired plants by giving each new section its own space and resources. If you want to expand your garden or share divisions with neighbors, propagating peonies from division is the reliable, true-to-type method. Karl Rosenfield Peonies are long-lived plants that commonly persist for 50 years or more, so a division from a mature plant is essentially a clone with decades of healthy growth ahead.
Best Time to Divide Karl Rosenfield Peony
Fall is the ideal season for dividing peony roots. Start in mid to late September, after your plant has set aside energy for next year and the foliage begins to yellow or bronze as temperatures drop. You have a window through early November, before the ground freezes hard. This timing gives divisions the entire winter to establish a small root system before spring growth demands energy.
The exact timing depends on your hardiness zone. Karl Rosenfield Peony grows in zones 3 through 8. Gardeners in zone 3 or 4 should prioritize early fall (mid-September); those in zones 7 and 8 can wait until late October or early November. Dividing too early in summer risks stress on the mother plant. Dividing too late (after a hard freeze) leaves divisions no time to anchor before dormancy.
Spring planting is possible with container-grown divisions but is less reliable. Fall-divided, bare-root divisions moved in spring often decline because they lack time to recover during the growing season. If spring is your only option, water deeply and expect the first year to focus on root establishment rather than blooms.
Tools and Materials You'll Need
Gather these items before you start:
- Garden fork or spade with a sharp blade
- Pruning saw or sharp knife for cutting through root sections
- Bucket or tub filled with cool water
- Newspaper or cardboard to work on
- Spray bottle or hose for rinsing
- Pruning shears for cutting back foliage
- Fungicide powder (sulfur or copper-based) optional but recommended
- Gloves and long sleeves
- Well-draining soil or compost for replanting
Step-by-Step Instructions for Dividing Peony Roots
Step 1: Prepare the Plant and Cut Back Foliage
Use pruning shears to cut the entire plant back to 3 to 4 inches above the soil line. This removes the foliage that will die back after frost anyway and makes excavation cleaner. Leave the stubby stems to guide you to the crown location.
Step 2: Excavate the Entire Clump
Use a garden fork to loosen the soil around the base of the plant, working outward 12 to 18 inches in all directions. A mature Karl Rosenfield Peony grows 24 to 36 inches wide, so plan your circle generously. Gently pry the clump upward. You may need to work all sides before the entire root ball lifts clear. Once free, place the clump on newspaper or cardboard so you can inspect the root structure.
Step 3: Rinse and Inspect the Roots
Use a spray bottle or gentle hose spray to wash away soil from the tuberous roots. This reveals the crown (where all the white, fleshy eyes emerge) and makes it easier to see natural break points. Inspect for soft, blackened, or mushy sections, which indicate rot; avoid using these parts. Healthy roots are firm and pale tan to white.
Step 4: Divide Into Sections with 3 to 5 Eyes Each
Each division must have 3 to 5 eyes (small pink or reddish buds on the crown). Peonies with fewer eyes may fail to establish. Use a sharp knife or pruning saw to cut sections. Work deliberately; jagged cuts are more prone to disease. You can create 3 to 5 divisions from a mature plant, depending on its age and size.
For your first division attempt, aim for larger sections with 5 eyes each. Smaller divisions (3 eyes) require more careful aftercare and may take an extra year to reach blooming size.
Step 5: Treat Cuts with Fungicide (Optional but Recommended)
Dust each cut surface with sulfur powder or copper-based fungicide. Peony roots can be vulnerable to Botrytis and other fungal issues when freshly divided. This protective step takes 30 seconds and significantly lowers the risk of loss. Allow treated divisions to air-dry for 15 to 30 minutes.
Step 6: Replant Divisions or Store Them
If replanting immediately in fall, dig a planting hole 12 inches deep and 18 inches wide. Mix existing garden soil with compost at a 2:1 ratio to improve drainage and nutrient content. Position each division so the eyes point slightly upward and sit 1 to 2 inches below the soil surface. Planting the crown too deep is the most common cause of no blooms; even 3 inches buried can prevent flowering for years.
Space divisions 3 to 4 feet apart. A single division will take 3 to 4 growing seasons to reach full mature width, so spacing feels generous now but prevents overcrowding later.
If you're dividing in early fall and the ground is still warm, water deeply after planting to settle soil around the roots. If dividing near the first frost, skip initial watering; winter moisture can promote rot on the fresh cuts.
Step 7: Mulch for Winter Protection
Apply 2 to 3 inches of coarse mulch (shredded bark, straw, or pine needles) over the planting area once the ground freezes. This insulates the crown and prevents frost heave in zones 3 through 5. Remove or thin mulch in early spring as new shoots emerge.
Tips for Successful Peony Division
Work on a cool, cloudy day if possible. Heat and sun stress the freshly divided roots. Fall division is less forgiving of delays than spring planting.
Older, established plants (5 years or more) divide more successfully than young ones. A mature Karl Rosenfield Peony develops a strong, complex root system with natural weak points that separate cleanly.
Larger divisions establish faster. A section with 5 eyes and a handful of feeder roots may flower lightly in year 2, while a 3-eye division typically needs 3 years.
Karl Rosenfield Peony tolerates moderate drought once established, but newly divided roots need consistent moisture through their first growing season. Water weekly through spring and early summer if rainfall is sparse.
Ants commonly visit unopened peony buds to feed on nectar. This is harmless and beneficial; ants are not the cause of flower failure and do not require control.
Common Mistakes to Avoid
The most frequent error is planting the crown too deep. Eyes should be no more than 1 to 2 inches below soil. Deeper planting causes the division to spend years establishing enough shoot growth to reach the surface and may never flower.
Dividing too frequently weakens plants. If your Karl Rosenfield Peony has been in the ground less than 5 years, leave it alone. Young plants need time to build the root mass necessary for successful division.
Using divisions with only 1 or 2 eyes wastes effort. Very small pieces rarely establish and often rot before rooting. Stick with 3 to 5 eyes minimum.
Failing to improve the replanting soil results in poor drainage and fungal disease. Take time to mix in compost or well-rotted organic matter. Karl Rosenfield Peony requires fertile, well-drained loam to thrive.
Overwatering newly divided sections in fall and early winter promotes root rot. Wait until spring growth is underway to establish a regular watering schedule.
What to Expect After Division
A newly divided section may produce light blooms in its first year after planting, but typically takes 2 to 3 years to reach full flowering potential and the 28 to 36-inch mature height of the parent plant. The first season is focused on root and crown establishment; don't expect the deep crimson blooms that made the mother plant so attractive.
Stems may be thin or fewer in number during years 1 and 2. This is normal and no cause for concern. By year 3 or 4, as the division reaches mature clump size, the plant will produce the robust double flowers Karl Rosenfield Peony is known for.
A division that appears slow or weak in year 1 may simply be investing energy underground. If the leaves are green and new shoots appear in spring, the division is alive and working. Patience and consistent care (water, light fertilizer, and good drainage) will reward you with a thriving peony that lasts decades.
Linking to Your Complete Karl Rosenfield Care
After your divisions are planted, refer to our Karl Rosenfield Peony care guide for ongoing watering, fertilizing, and pruning schedules. The care requirements for an established division are the same as for a nursery-grown plant.
Quick Reference Checklist
| Task | Timing | Details |
|---|---|---|
| Cut back foliage | Mid-September to early November | 3 to 4 inches above soil |
| Excavate clump | Fall (zones 3-4: early; zones 7-8: late) | Work 12 to 18 inches from base |
| Rinse and inspect roots | During excavation | Remove soil; check for rot |
| Divide sections | Same day as excavation | 3 to 5 eyes per division |
| Treat cuts (optional) | Immediately after dividing | Fungicide powder, air-dry 15-30 min |
| Replant divisions | Fall, before hard freeze | Crown 1-2 inches deep; space 3-4 ft apart |
| Mulch for winter | After ground freezes | 2 to 3 inches coarse mulch |
| First bloom expected | Year 1-2 (light); year 2-3 (full) | Full height/width by year 3-4 |